|
Dimension |
WDR |
DNR |
BLC / HLC |
|
Definition |
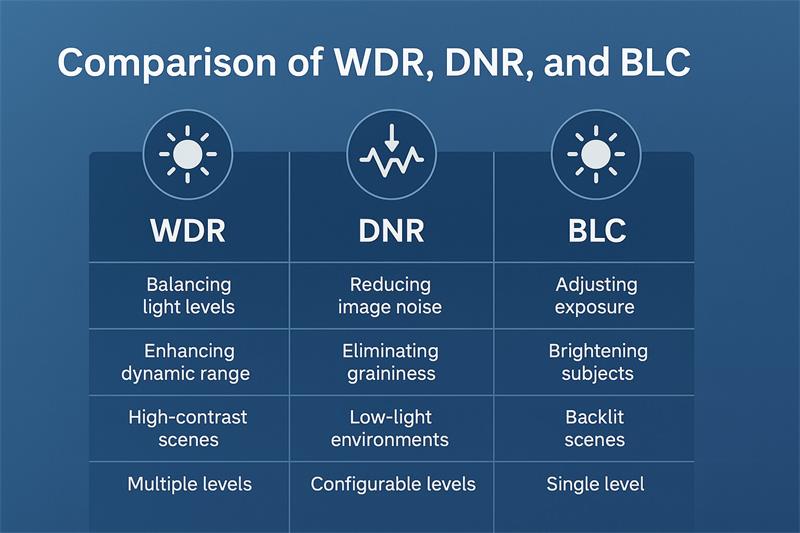
Balances bright and dark areas in the same frame |
Reduces image noise to improve clarity |
Adjusts exposure in backlit scenes for proper subject brightness |
|
Primary Application |
Entrances, lobbies, outdoor-to-indoor transitions, strong contrast areas |
Low-light or high-gain scenes such as warehouses, parking lots |
Kiosk terminals, access control, license plate capture, reflective surfaces |
|
Processing Method |
True WDR: multi-exposure merge; DWDR: gamma/tone curve |
2D spatial + 3D temporal filtering |
AE-based exposure weighting, ROI gain mapping |
|
Dynamic Range Impact |
Expands range up to 90–120 dB |
Does not increase DR — improves SNR |
Does not increase DR — redistributes brightness locally |
|
Processing Load |
Medium–high; multi-frame merge may cause motion artifacts |
Low–medium; 3D mode needs frame buffer |
Low; real-time, AE-level adjustment |
|
Effect on Motion |
Possible ghosting/edge blur with multi-exposure merge |
Possible motion trails with 3D DNR |
Minimal — fully real-time |
|
Human-Eye Analogy |
Mimics adaptive vision, but may look flat if overused |
Human eyes don’t perform temporal averaging |
Similar to eyes focusing on the subject and ignoring glare |
|
Consumer vs Professional |
True WDR for industrial/vision; DWDR in consumer cameras |
Common in both consumer and professional devices |
Mostly used in professional CCTV, kiosks, access systems |
|
Cost Consideration |
Requires sensor and ISP support; higher BOM |
Built-in to ISP; negligible cost |
Low-cost, firmware/AE-level feature |

Advantages
Limitations
Engineering Tips
Advantages
Limitations
Engineering Tips
Advantages
Limitations
Engineering Tips
|
Scenario |
Recommended Feature |
Reason |
|
Factory entrance / window area |
True WDR + ROI BLC |
Maintains both interior and exterior details |
|
Night / low-light warehouse |
2D + 3D DNR (balanced) |
Clean image with minimal noise |
|
Vehicle headlights or license plates |
HLC + fast shutter (≥1/100 s) |
Prevents glare and blooming |
|
Retail kiosk / access terminal |
BLC (center ROI) + WDR |
Ensures facial visibility under backlight |
|
Heavy EMI / flickering LED |
Anti-flicker + fixed shutter + moderate WDR |
Avoids banding and unstable exposure |
Typical ISP sequence:
AE → WDR → DNR → Sharpening → Color → Encoding
|
Function |
Recommended Starting Values |
Notes |
|
WDR |
Start = Low / 1, raise to Medium / 2 |
Combine with DNR (2D = 1–2, 3D = 1) |
|
DNR |
Motion: 2D = 2, 3D = 1; Static: 2D = 2–3, 3D = 2 |
Add slight sharpening (+1) |
|
BLC / HLC |
ROI = 20–40 %, HLC = Medium |
Evaluate after exposure stabilizes |
|
Need |
Best Technology |
|
High contrast / strong backlight |
WDR (+ BLC if needed) |
|
Low light / noisy image |
DNR (2D + 3D balanced) |
|
Backlight on subject / localized glare |
BLC / HLC |
A:
They operate at different layers of image processing and can be stacked strategically:
WDR (Wide Dynamic Range) controls exposure fusion across bright and dark areas.
BLC (Backlight Compensation) adjusts average brightness around a centered subject.
DNR (Digital Noise Reduction) smooths sensor noise after exposure normalization.
In industrial or retail environments, the ideal sequence is WDR → BLC → DNR, ensuring accurate exposure before noise suppression.
A:
Hardware-based WDR (using dual-exposure or DOL-HDR sensors) delivers higher precision and less latency, ideal for AHD or USB3.0 industrial modules.
Software WDR can enhance contrast but risks ghosting in fast-motion scenes.
For robotics, kiosks, and embedded vision, hardware WDR from sensors like Sony STARVIS is strongly recommended.
A:
Over-aggressive 3D-DNR can blur fine details—edges, barcodes, or text—reducing classification accuracy in AI vision or OCR systems.
For vision systems running object detection, keep DNR moderate (2D + light 3D) or apply denoising after frame capture in the AI preprocessing pipeline.
The key is signal integrity over visual smoothness.
A:
Use BLC when the scene has a dominant subject (e.g., person entering through a bright doorway). It brightens the subject even if background detail is lost.
Use WDR when both foreground and background detail are important—such as tunnel exits, factory loading docks, or glass storefronts.
In hybrid systems, BLC can act as a “fast correction,” while WDR provides the global HDR solution.